Saturday, 11 July 2015


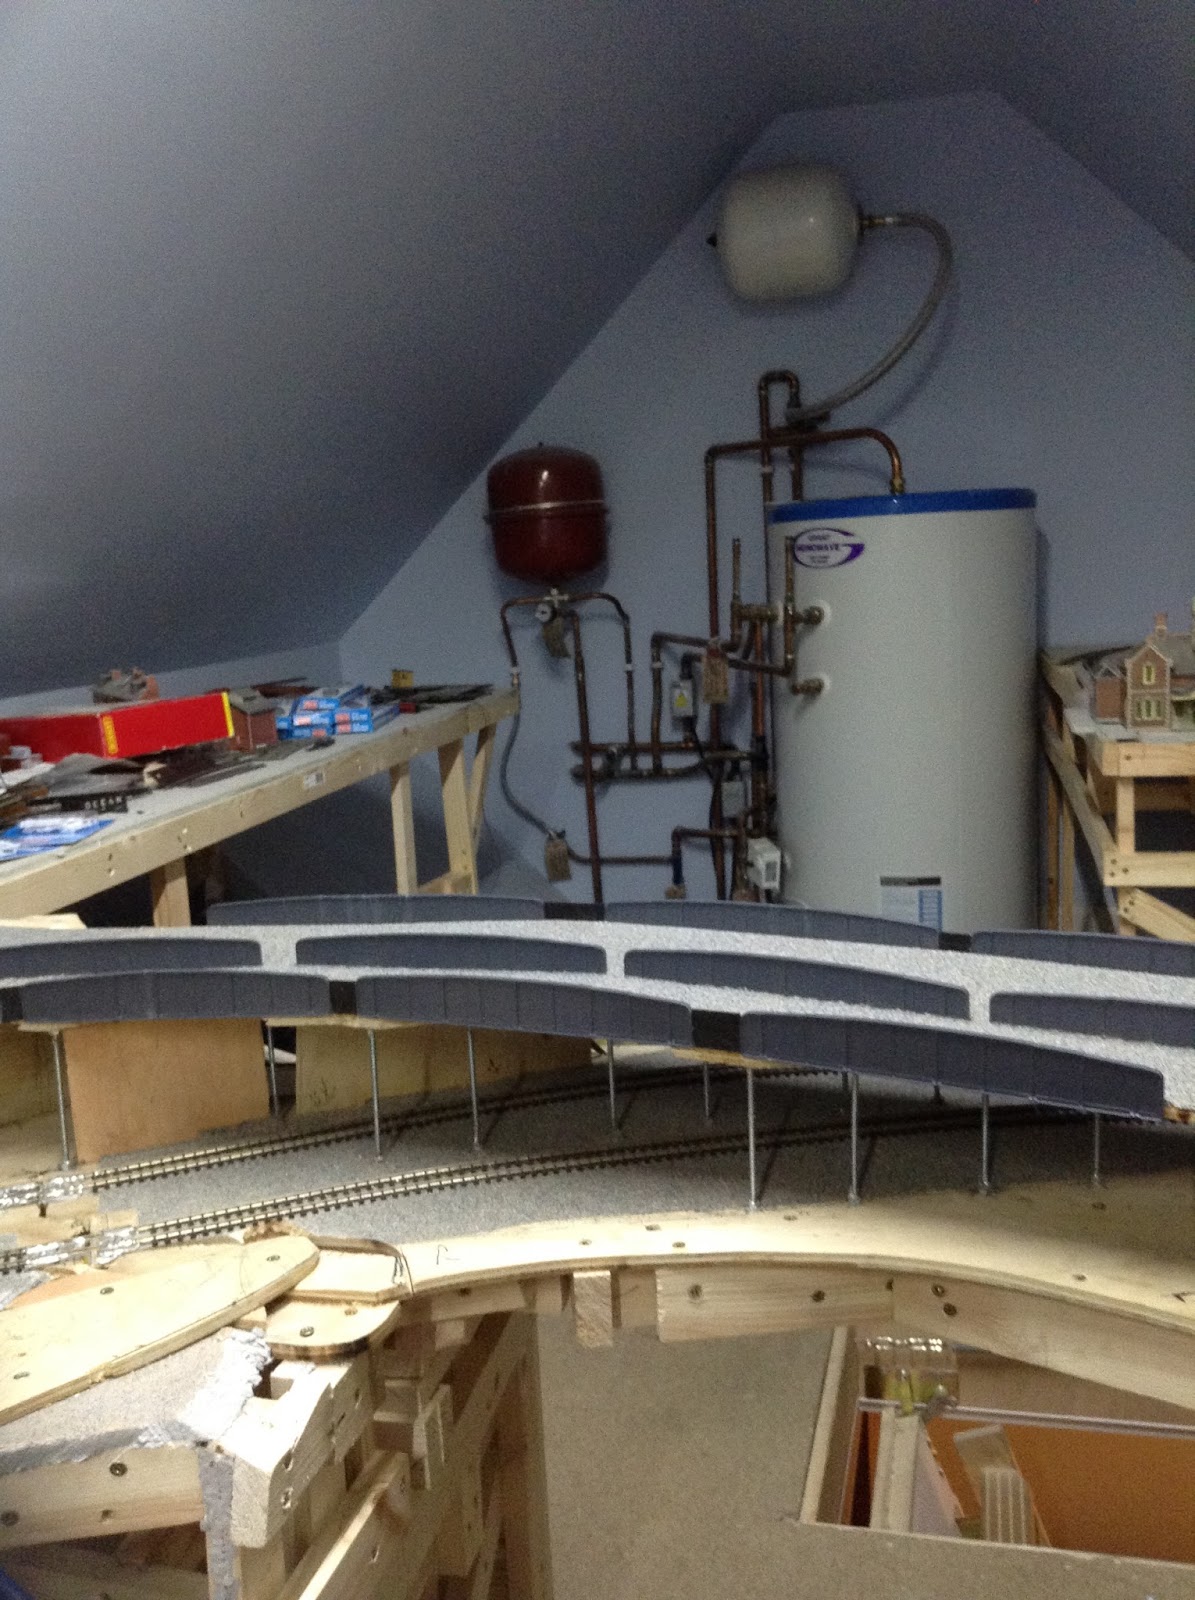
This is a picture of me starting to build a hill. Under the bridge there will be a river and behind that there will be a watermill. There will also be a waterfall.  On the other side of the bridge there will be another hill.  


I have decided to make more sidings at the back on the bottom layer.  This was planned later as I did not know if it was possible in terms of the lifting door position.


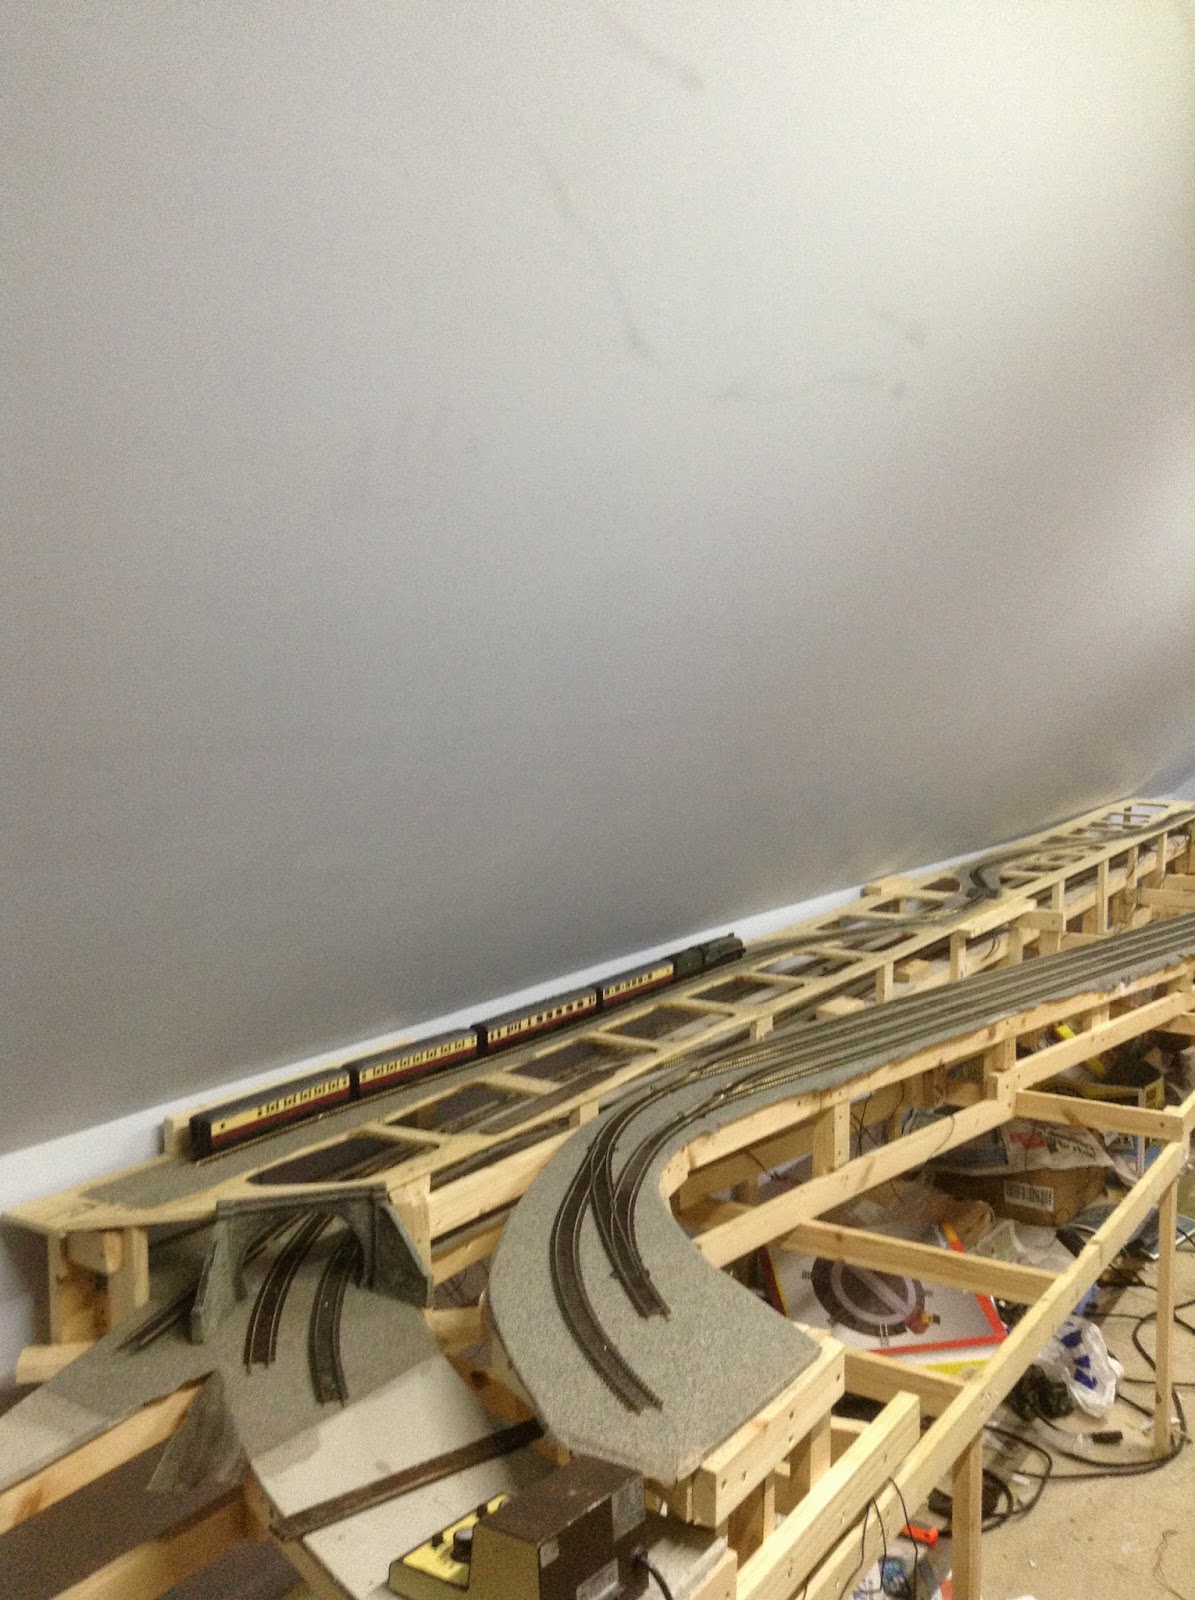
This is the same but seen from the other end of the layout.


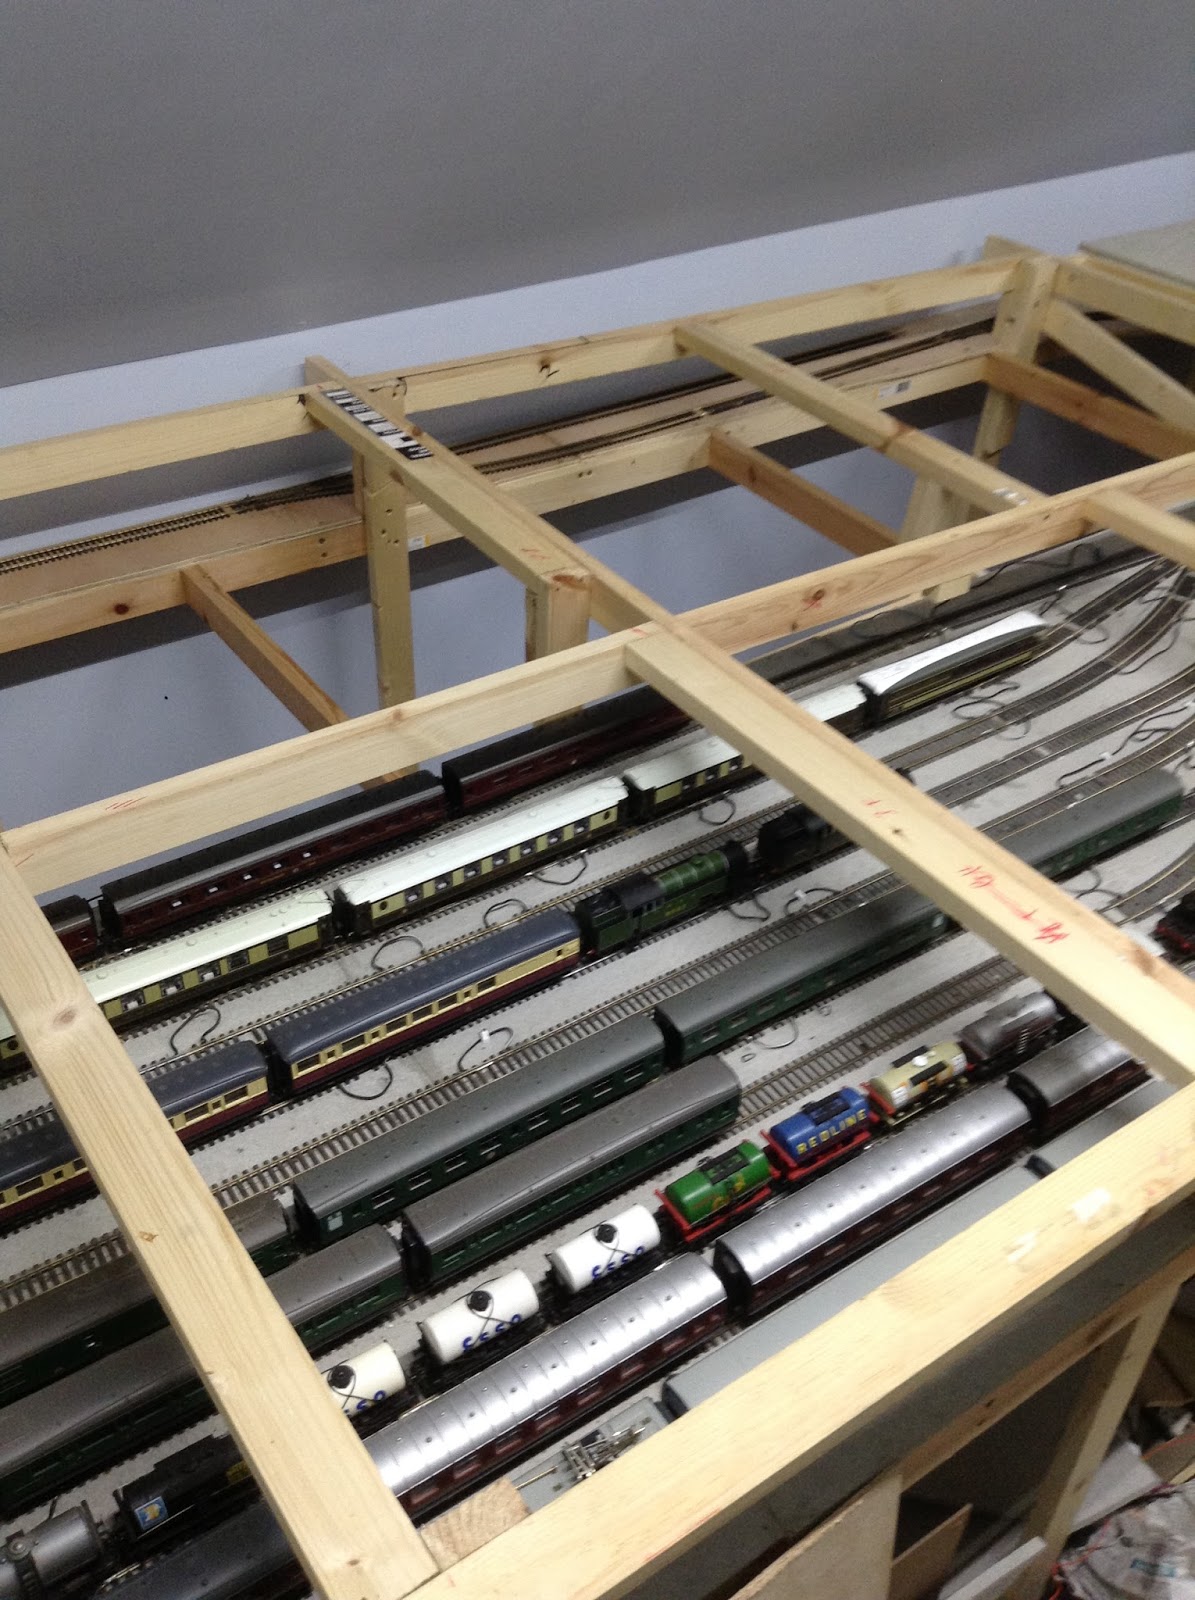
This picture shows 2 edward Thomson steam engines from 1948 up to 1962.  One engine is not strong enough to manage the incline as it is very steep.  Each train has 6 volts and I find that it works a bit better.


This shows you the storage space under level 2 giving storage to 6 trains


This shows you 2 trains at the siding


Monday, 29 June 2015


This is a photo of the bridge door with 3 tracks at top level and 2 at lover level.


That is a photo showing you the door lifting.  As you can see both levels open and close together.


Here you see the door fully open with a view to the hinge and the door handle.


This shows you the layout from the other end with a view to the lifting door and 2 tracks of the main line with a third line with a buffer for a shunting yard for goods trains to enable main lines to pass. The other 4 are passenger main lines.

Sunday, 14 June 2015


That shows you a train on the bridge.


Here we see two trains under the newly completed bridge door on level one, going in different directions. The train in the background is in a siding on the incline.


This is a photo showing 2 layers on the opening door giving acces to the middle.  Both layers lift together creating a very heavy opening lifting door.  It took a long time to design and get it to work.  A piece of circuit board was used to make it more solid to ensure the tracks will continue to stay in the right place.


This shows a picture of the bridge door open.  The silver coloured metal plates stops the wood getting bashed when it goes down.  


This shows the same but from the other side.


 This gives you an idea of how strong it is so that it will last for many years.


The circle is nearly complete now.

This is a picture of the hinged opening.   The rods are made from a meter long rod cut into smaller pieces and filed.  Washers, bolts and nuts are solder to prevent them moving.  This now completes the circle with an opening that can be lifted up with the hinges on the right hand side.  Both layers move together.  It will be completed to look like a bridge.


Sunday, 15 February 2015


Here you see 4 trains, 2 can run at the same time and 2 can stop at siding. 2 fast trains and 2 slow trains running from level 1 to level 2.  A maximum of 12 ft can be fitted onto the siding. At the back is level 3 where you can see train nr 5.


You can see a train going downhill towards the bridge and one is going up in the other direction at the far end.  At the back you can see a bit of the train at level 3.

I have now completed soldering wires all around the track direct from the controller this helps heavy trains to climb the steep incline.  It now works well even without weights.


Here you can see 4 trains photographed from the other end.  At the back in the distance is another train. 


Tuesday, 16 December 2014


This is level I am trying out a 5 ft train, this track is made for small trains up to 5 ft.


 Here you see the train running on an s shaped track.


The train is now on the level 3 bridge on its way to level 2.

Tuesday, 9 December 2014


This is a siding for 2 fast trains and and 2 slow trains.  It can take up to 4 trains 12 ft long.

Sunday, 23 November 2014


This is a photo of level 3, 2 and 1.  The holes are cut out in case a train derails.  The next stage is to make a lift-up scenery with one track at the back and scenery at the front.


This is the same view which includes an incline.  At the far end the track is at the front and the lifting scenery is to be at the back. This creates a gentle curve at this level.


Thursday, 16 October 2014


This shows the angle from level 2 to level 3.


This is a viaduct curving above a river and embankments.  It is on an incline from level 2 to level 3.  The viaduct is handmade, originally cardboard but strengthening it with plastic. Some legs of the viaduct need lengthening to fit the layout.  The board,  top left,  is level 3.


This photo shows you level 3 board on the left and incline bridge going up to level 3 from level 2 on the right.  Next to the bridge will be scenery including a hill.

Sunday, 21 September 2014


This shows 2 sidings and the 2 main lines lead to the other side of the room via a lifting  access.  The single track leads down to the harbour.


This crossover allows me to change the route from the outside to the inside track.


Unfortunately the incline was too steep so I had to change everything, cutting 4 cm off to make it lower, so now the backtracks go down 2.5 cm over a length of 275 cm. The front tracks go up 4 cm over 244 cm making it a gentler climb than earlier which is necessary for 8 coaches with lights.  The earlier version was ok for all the other trains I have without lights.


I have started building the frame for level 3 and have nearly finished the baseboard for one train going up and another going down in different directions.


The previous incline was too steep for the Pullman coaches with lights so I changed it to be less steep because last time it did not work.  Now it can climb with 8 coaches with lights.  Each coach is one foot and the train is also a foot long, in total 9 feet.

Wednesday, 16 July 2014


Incline number 2 is S shaped


More detail of 2 levels with S shaped going up and the other going down.


This part is level one slowly rising to level two.  The back part is meeting up with the bridge  joining the harbour further back.  In the foreground there is space for a double lifting track to allow access to the centre of the layout.


This is the area where the track at the back is going down very gently to a lower level.  

Sunday, 15 June 2014


 This is level 2 for the harbour.

This is the bridge for level 2 , over water.

This top level is for a passenger station, the bottom level is water with a containership harbour.  Middle level is for container wagons.

Sunday, 1 June 2014

This is the start of building a table for a harbour for container trains.  Another level for the water, one for the harbour and the top one is for the station.

Thursday, 15 May 2014


A lower level for narrow boat canal, making it look more natural


On this one I raise the track by 1/2 inch over 3 feet for a gentle climb


Here you see different levels, the turntable, a coal hopper and coal mine.  Designed for larger trains.